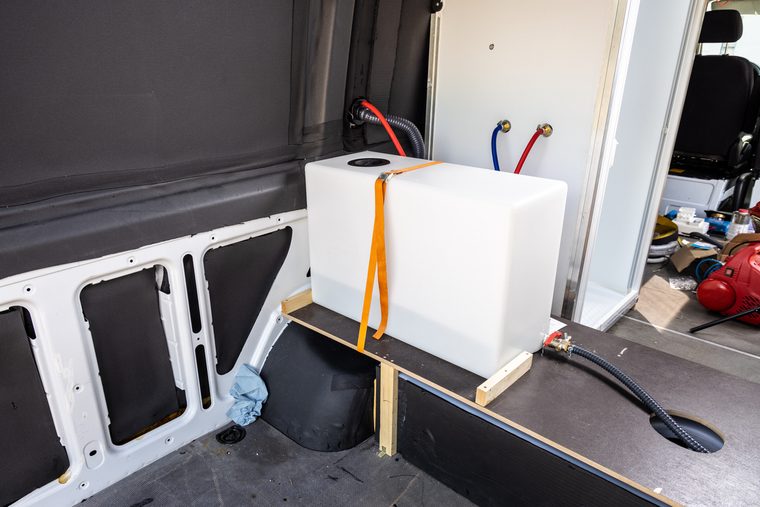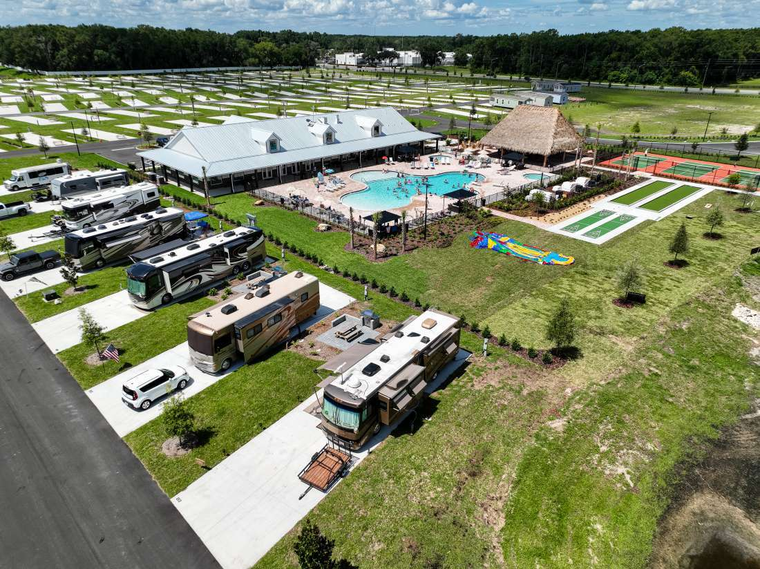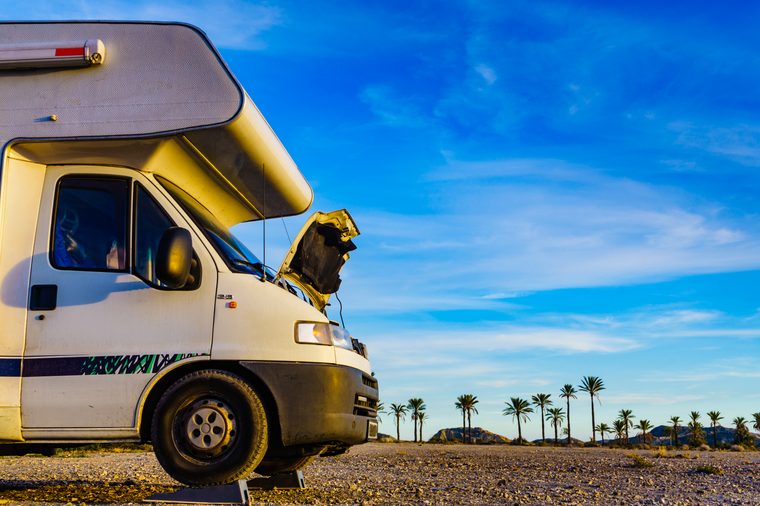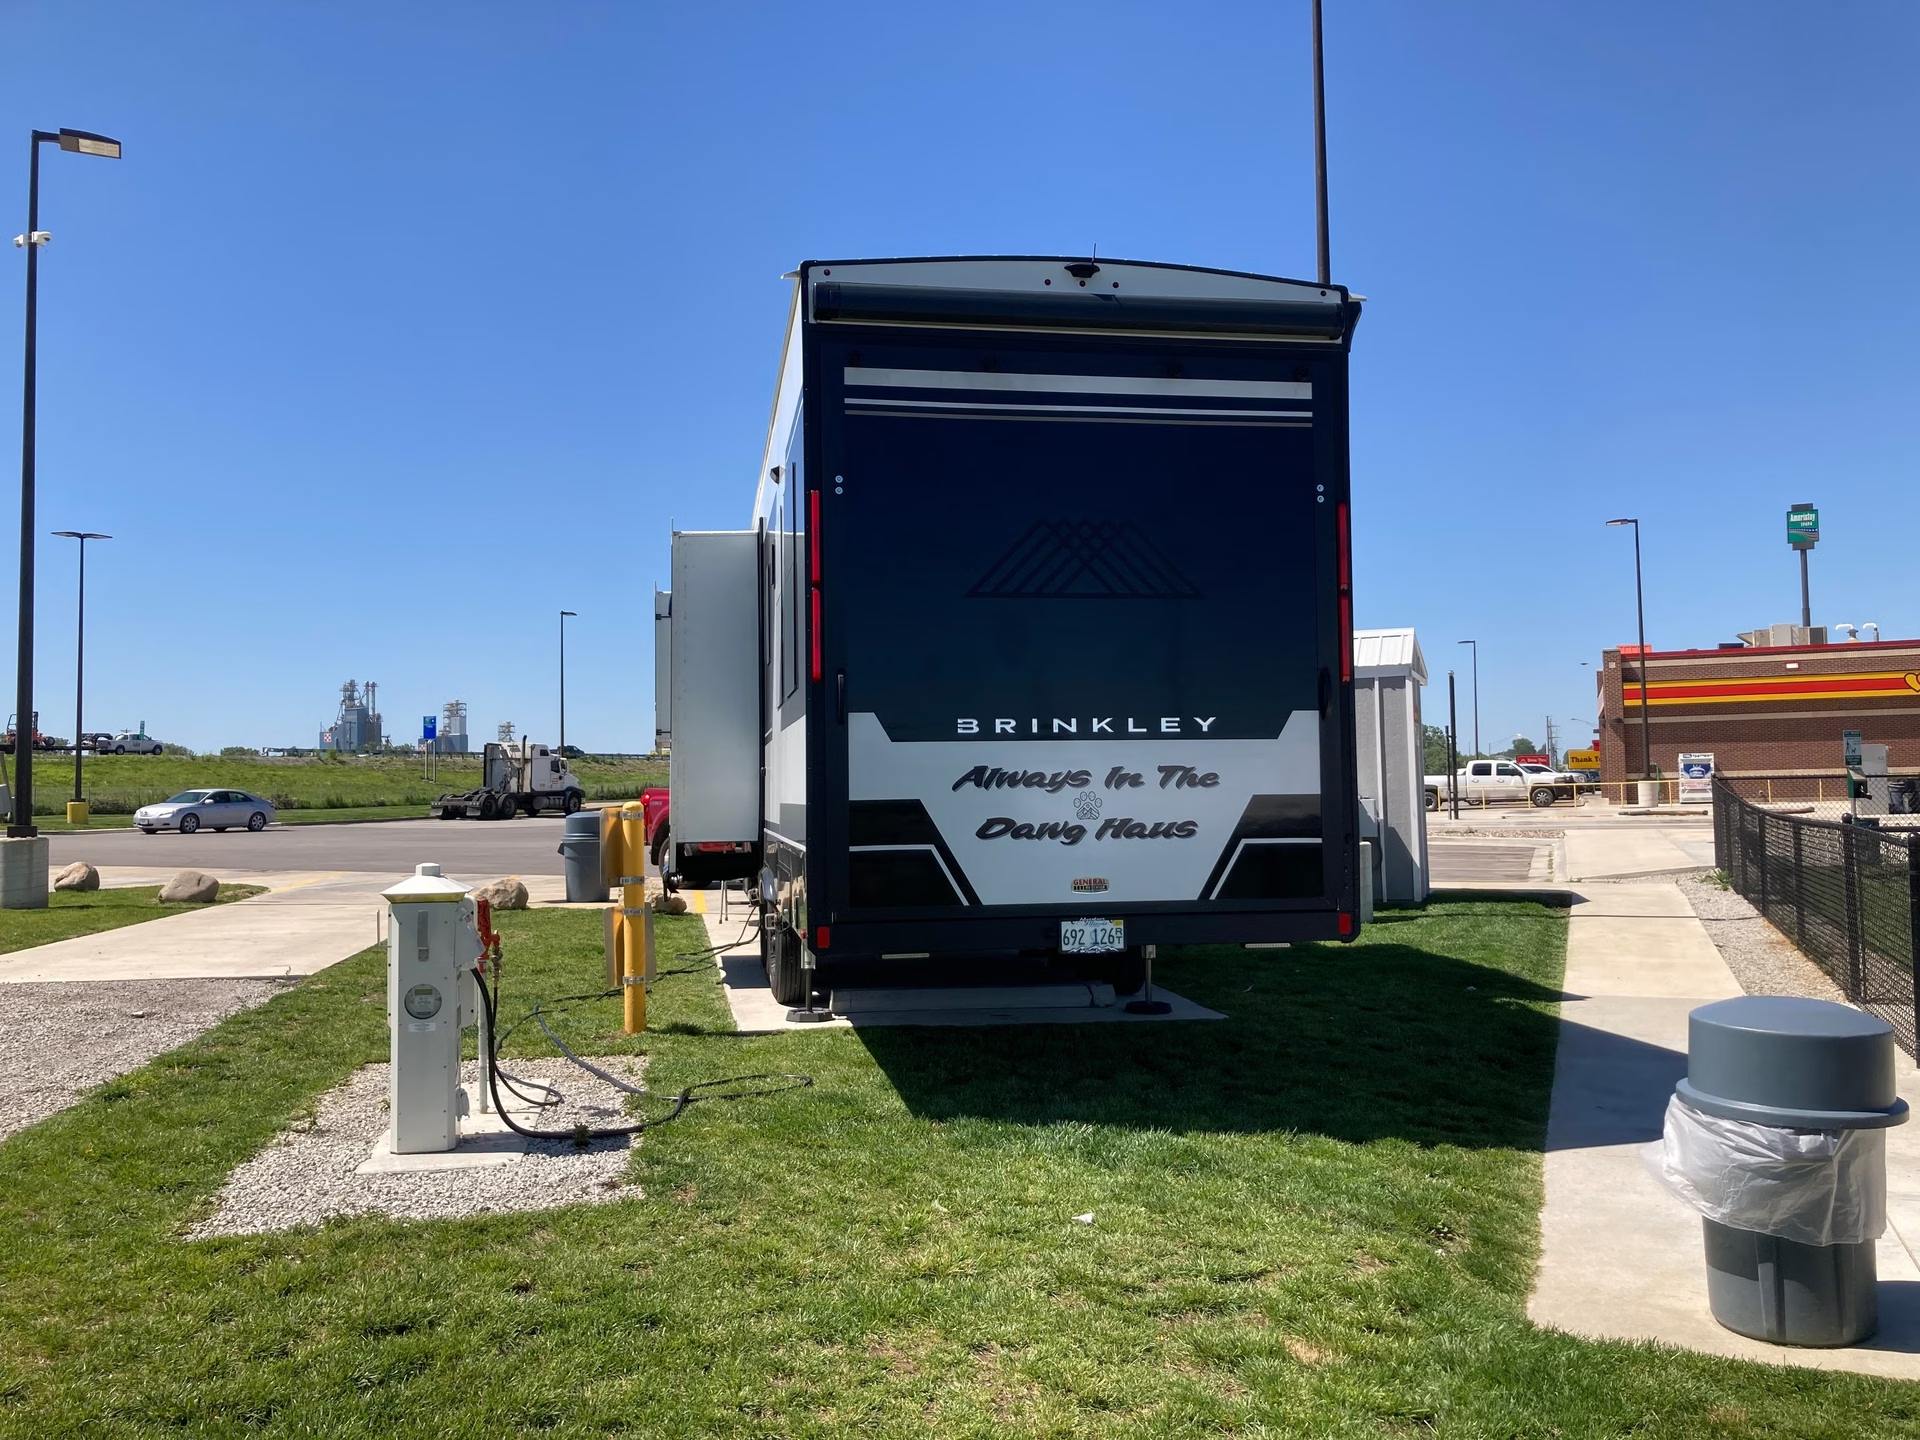
RV hookups are connections at a campsite that allow your RV to use electricity, fresh water, and sewer services. Some campsites provide all three, while others offer limited hookups or none at all. Without these connections, you’ll need to rely on your RV’s onboard power, freshwater supply, and waste tanks.
Before choosing a campsite at an RV park, it helps to understand which hookups your rig needs and what’s available at the site. This guide covers the different types of RV hookups, how to connect them safely, and what to check before booking your stay.
TL;DR
- Know the differences: Full hookups include electricity, water, and sewer. Partial hookups provide fewer utilities, so confirm what’s included.
- Match the connections to your RV: Check your RV’s electrical service, required equipment, and tank setup before arriving.
- Find a compatible campsite: Compare electrical amperage, water, sewer availability, and RV fit using campground details and recent reviews.
What Are RV Hookups?
RV hookups are utility connections at a campsite that provide electricity, fresh water, and wastewater disposal for an RV. Electrical hookups supply shore power, potable water hookups connect to the RV’s water system, and sewer hookups provide a way to empty wastewater tanks. Not every campsite offers all three connections, so availability depends on the campground and individual site.
Types of RV Hookups: Full, Partial, and No Hookups
Campgrounds generally classify RV sites by the utility connections available. Full-hookup sites provide electricity, water, and sewer, while partial-hookup sites offer fewer connections. Some campsites provide only electricity or have no hookups at all.
Here’s how the different options compare:
| Site type | Typically available | What to plan for |
|---|---|---|
| Full hookups | Electricity, water, and sewer | Verify electrical amperage and connections at your specific site |
| Partial hookups | Some combination, commonly electricity and water | Confirm which utilities are missing and where you can dispose of wastewater |
| Electric-only | Shore power | Bring or refill fresh water and plan for wastewater disposal |
| No hookups / dry camping | No utility connections at the campsite | Check battery capacity, onboard water, holding tanks, and whether generator or solar power is needed |
Keep in mind that hookup availability doesn’t necessarily reflect a campground’s other amenities. A campsite without hookups may still have shared restrooms, showers, Wi-Fi, laundry facilities, or a dump station.
If you’re considering a no-hookup site, these RV dry camping tips can help you prepare for managing electricity, water, and wastewater without campsite connections.
RV Electrical Hookups: 30-Amp vs. 50-Amp
RV electrical hookups supply shore power, allowing you to run appliances and other electrical systems without relying entirely on batteries or a generator. Most RVs use either 30-amp or 50-amp service, which determines how much power they can draw from a campsite.
What’s the difference between 30-amp and 50-amp RV hookups?
A 30-amp RV hookup provides 120-volt power through a single hot connection, with a maximum nominal capacity of approximately 3,600 watts. A 50-amp hookup uses a 120/240-volt supply with two 120-volt legs, each rated for 50 amps. Together, they provide up to approximately 12,000 watts.
That means 50-amp service can supply more than three times the total power of 30-amp service. Most appliances in a 50-amp RV still operate on 120-volt circuits.
30-amp vs. 50-amp RV plug comparison
| Feature | 30-amp RV hookup | 50-amp RV hookup |
|---|---|---|
| Standard plug | NEMA TT-30 | NEMA 14-50 |
| Prongs | 3 | 4 |
| Connection labels | Hot (L), neutral (N), ground (G) | Hot (L1), hot (L2), neutral (N), ground (G) |
| Voltage | 120V | 120/240V |
| Maximum nominal power | 3,600 watts | 12,000 watts |
| Common applications | RVs with lower electrical demands | RVs with multiple air conditioners or higher electrical demands |
These are theoretical maximum capacities under nominal voltage conditions. Actual available power depends on the electrical supply, breakers, and RV configuration.
Can you connect a 50-amp RV to a 30-amp hookup?
Yes. Many 50-amp RVs can connect to a 30-amp campground outlet using a compatible, properly rated RV electrical adapter, commonly called a dogbone adapter. Check your RV manufacturer’s instructions and campground requirements before using one.
The tradeoff is reduced power. A 50-amp RV connected to a 30-amp outlet is limited to approximately 3,600 watts instead of 12,000 watts. You may need to avoid running multiple high-demand appliances, such as air conditioners, electric water heaters, and microwaves, simultaneously.
The reverse is also possible. A 30-amp RV can use a compatible 50-to-30-amp adapter to connect to a 50-amp pedestal, provided the equipment and manufacturer instructions allow it. The RV remains limited to its 30-amp electrical system.
An adapter changes the connection type, not the available electrical capacity. It doesn’t increase the power your RV can safely use or correct a faulty electrical supply.
How to connect RV shore power safely
Before connecting, check your RV’s owner’s manual for the correct electrical service and connection procedure.
- Identify the correct outlet. Confirm whether your RV requires 30-amp or 50-amp service and check that the campground pedestal provides a compatible connection.
- Inspect the connections. Look for damaged plugs, loose receptacles, corrosion, scorch marks, or exposed wiring. Don’t use damaged or wet electrical equipment.
- Turn off the pedestal breaker. Switch off high-demand appliances inside your RV and make sure the campground’s electrical breaker is off before connecting.
- Connect your electrical protection and power cord. Use a properly rated RV surge protector or electrical management system (EMS), following the equipment manufacturer’s connection sequence. An EMS with appropriate fault detection can help protect against unsafe voltage and certain wiring problems. Our RV must-haves checklist covers electrical protection and other hookup equipment.
- Restore power and check for problems. Once everything is securely connected, turn on the pedestal breaker and check any protection-device indicators. If the device reports a fault or the connection overheats, stop using it and contact campground staff or a qualified electrician.
When disconnecting, turn off the pedestal breaker before unplugging your equipment. Never bypass electrical protection or attempt to repair a damaged campground power pedestal yourself.
For the rest of the arrival and departure process, follow Campendium’s RV setup and teardown checklist.
RV Water Hookups: How They Work
RV water hookups provide a direct freshwater supply for your RV’s sinks, shower, and toilet. Most RVs can also operate without a campsite water connection by using water stored in their onboard freshwater tank.
Connecting to campground water
To connect to campground water, use a dedicated potable-water hose rated for drinking water. Attach it between the campground spigot and your RV’s city-water inlet.
A few accessories help protect your RV’s plumbing and maintain water quality:
- Water pressure regulator: Controls incoming water pressure to help prevent leaks and plumbing damage. Install it according to your RV manufacturer’s instructions, typically at the campground spigot.
- Water filter (optional): Helps reduce sediment, unpleasant tastes, and odors. Different RV water filter types address different contaminants, but ordinary filters cannot make a non-potable source safe to drink.
Once connected, turn on the water gradually and check for leaks.
A city-water hookup supplies your RV’s plumbing directly, usually without needing the onboard water pump. It generally doesn’t fill your freshwater holding tank automatically. Filling the tank requires using the designated inlet or tank-fill setting specified in your RV’s manual.
What if your campsite doesn’t have water hookups?
If your campsite doesn’t provide a water connection, fill your RV’s freshwater tank before arriving or at an approved potable-water filling station. Some campgrounds offer shared drinking-water stations even when individual sites have no hookups. Confirm that filling an RV tank is permitted.
Once your tank has water, turn on the RV’s onboard water pump to supply the faucets, shower, and toilet. The pump typically runs on your RV’s 12-volt electrical system.
Because your water supply is limited, check your tank capacity and estimate how much you’ll need for drinking, cooking, washing, and bathing. Remember that using water also fills your gray and black wastewater tanks, which may need emptying before your next refill.
RV Sewer Hookups: Black and Gray Tanks
RV sewer hookups allow you to empty wastewater from your RV’s holding tanks directly into an approved campground sewer connection.
Most RVs have two wastewater tanks:
- Black tank: Holds wastewater and waste from the RV toilet.
- Gray tank: Collects wastewater from sinks, showers, and other drains, depending on the RV’s plumbing.
How does an RV sewer hookup work?
An RV sewer hookup connects your RV’s waste outlet to the campsite’s sewer inlet using a dedicated sewer hose. The hose must be securely attached at both ends to prevent leaks and spills.
When it’s time to empty your tanks, the usual procedure is to drain the black tank first, close its valve, and then drain the gray tank. The gray water helps rinse remaining waste from the sewer hose. Follow your RV manufacturer’s dumping and flushing instructions, and wear protective gloves when handling wastewater connections.
Should you leave your RV’s tank valves open?
Keep your black tank valve closed except when actively dumping. Leaving it open continuously allows liquids to drain while solid waste accumulates, potentially causing blockages and unpleasant odors.
The Jayco owner’s manual specifically warns against leaving the black tank valve open when connected to campground sewer service.
Gray tank practices vary. Some RVers leave the gray valve open during extended stays, but manufacturers such as Winnebago recommend keeping both valves closed until dumping. Check your RV’s instructions and campground rules before deciding.
What if your campsite doesn’t have sewer hookups?
Without a sewer connection at your campsite, wastewater stays in your RV’s holding tanks until you reach an approved dump station.
Monitor your tank levels, limit unnecessary water use, and plan where you’ll empty them before they reach capacity. Some campgrounds have shared dump stations even when individual campsites lack sewer hookups.
You can find RV dump stations on Campendium and compare locations along your route. Check recent reviews for reported conditions, then confirm operating hours, fees, and availability with the facility before arriving.
Never empty black or gray wastewater tanks onto the ground or into storm drains.
How to Hook Up Your RV at a Campsite: Step-By-Step
Setting up RV hookups is easier when you follow the same routine at every campsite. Before starting, check your RV’s owner’s manual and confirm that the available utilities match your equipment.
Step 1: Inspect and position your RV. Locate the electrical pedestal, water spigot, and sewer inlet. Park where your power cord and hoses can reach without stretching, then level and secure your RV according to the manufacturer’s instructions.
Step 2: Connect to shore power. Confirm that the electrical service matches your RV’s requirements. With the pedestal breaker off, inspect the connections and attach your properly rated power cord and electrical protection device. Turn the breaker on and check for faults.
Step 3: Connect the freshwater supply. Attach a potable-water hose and pressure regulator between the campground spigot and your RV’s city-water inlet. Add a water filter if needed, turn on the water gradually, and check for leaks.
Step 4: Connect the sewer hose. If your campsite has a sewer hookup, securely attach the sewer hose to your RV’s waste outlet and the campground’s sewer inlet. Keep the black tank valve closed until dumping, and follow your manufacturer’s guidance for the gray tank.
Step 5: Check your connections. Confirm that electricity and water are working properly. Inspect hoses and fittings for leaks, check electrical protection indicators, and secure cables and hoses away from walkways.
Step 6: Disconnect before departure. Empty your holding tanks as needed, following the proper dumping sequence. Shut off the water supply, relieve pressure, and disconnect the hose. Turn off the electrical pedestal breaker before unplugging. Clean, cap, and store your equipment, then complete a final walkaround.
For a more detailed arrival and departure routine, see Campendium’s RV setup and teardown checklist.
Common RV Hookup Mistakes and Troubleshooting
Problems with RV hookups often involve mismatched connections, damaged equipment, or overlooked setup steps. Check the utility connections before using them, and address any problems before they cause damage.
| Common mistake or problem | What to do |
|---|---|
| Incompatible electrical service | Confirm your RV’s amperage requirements. Use a properly rated RV adapter only when compatible, and stay within the available power capacity. |
| Damaged electrical pedestal | Look for scorch marks, corrosion, loose outlets, or damage. Don’t connect to a questionable pedestal. Notify campground staff and request another site or qualified assistance. |
| Tripped circuit breakers | Turn off high-demand appliances and check for an overload. If the breaker trips again, stop using the connection and have the problem inspected. |
| Forgetting a water pressure regulator | Turn off the water supply and install a regulator rated for your RV’s plumbing requirements before reconnecting. |
| Water leaks | Shut off the water and inspect accessible hose fittings and washers. Replace damaged accessories. If the leak involves internal plumbing, seek qualified repair assistance. |
| Unsecured sewer connections | Keep tank valves closed while correcting the connection. Secure both ends of the sewer hose and check the seal before dumping wastewater. |
| Leaving the black tank valve open | Keep the valve closed between dumping sessions to prevent solids from accumulating. Follow your RV manufacturer’s tank-management instructions. |
| Assuming every campsite has the same hookups | Confirm the electrical amperage, water, and sewer connections at your assigned site before arrival. See Campendium’s tips for choosing an RV park campsite for additional checks. |
Safety reminder: If you encounter electrical faults, repeated breaker trips, damaged wiring, or plumbing damage, stop using the affected connection. Contact campground staff, a qualified electrician, or an RV service technician rather than attempting electrical repairs or continuing to use damaged equipment.
How to Find RV Campsites With the Right Hookups
Finding a campground that advertises full hookups doesn’t guarantee every campsite has the connections your RV needs. Campendium lets you narrow your search by electrical service, water, sewer, and RV length before comparing individual campgrounds.
Here’s how to find a compatible campsite:
Step 1: Search your destination. Open Campendium’s RV park map and enter your destination or preferred camping area. Browse the available campgrounds using the map or list view.
Step 2: Choose a campground category. Select RV Parks for private campgrounds or Public Land to explore camping in national parks, state parks, and other public areas. If you’re visiting a national park, Campendium’s guide to national park campgrounds with RV hookups can help you identify potential options.
Step 3: Apply hookup filters. Open Filters and select 30+ amp or 50+ amp under Electric Hookups. You can also filter for Water, Sewer, and Max RV Length to narrow the results. Campendium’s map search guide explains the available filters.
Step 4: Review campground details. Open each campground’s listing to check amenities, posted RV length restrictions, photos, and recent camper reviews. Look for comments about hookup availability, site numbers, and access for larger rigs. The Longest RV Reported figure can provide useful context, but it isn’t a guarantee that your RV will fit.
Step 5: Confirm before booking. Contact the campground to verify the utilities at your specific campsite, including electrical amperage, water access, and whether sewer service is available at the site or only at a shared dump station. Ask about site dimensions, hookup placement, and any additional utility charges.
If your first choice doesn’t meet your requirements, compare nearby alternatives and save a backup campground. Always confirm site-specific hookups before making a reservation, especially when a campground offers several types of RV campsites.
Frequently Asked Questions
You’ll need equipment that matches the utilities available at your campsite. Electrical connections require a compatible power cord and appropriate electrical protection, plus an adapter if needed. Water hookups require a potable-water hose and pressure regulator. Sewer hookups require a dedicated sewer hose and secure fittings. Check your RV’s specifications before connecting.
A full-hookup RV site provides electricity, fresh water, and sewer connections directly at the campsite. This allows you to use campground utilities without relying entirely on your RV’s onboard systems. However, electrical amperage, site dimensions, Wi-Fi, showers, and other amenities vary. Confirm what’s included before booking.
Yes, a 50-amp RV can generally connect to a 30-amp campground outlet using a compatible, properly rated adapter. However, you’ll be limited to the 30-amp supply’s capacity of approximately 3,600 watts. You may need to limit simultaneous appliance use to avoid overloading the circuit. Always follow your RV manufacturer’s electrical requirements.
No. Some campgrounds offer full hookups, while others provide only electricity, water and electricity, or no utility connections at all. Availability can also differ between individual campsites within the same campground. You can search RV parks on Campendium and filter by hookup type before checking individual site details.
Some national park campgrounds offer full or partial RV hookups, but many have no utility connections at individual campsites. Options also vary by campground and site. Campendium’s guide to national park campgrounds with RV hookups provides examples of parks with available connections. Verify current amenities and reservations with the campground or National Park Service.
Installation costs depend on the electrical service required, distance from existing utility connections, water and sewer infrastructure, permits, and labor. Adding a dedicated electrical outlet is a different project from installing full water, electric, and sewer hookups. Consult qualified professionals for site-specific estimates and check local permit requirements before beginning work.
Find an RV Campsite That Fits Your Setup
The right campsite should have the hookups your RV needs and enough room for your rig. Explore RV parks on Campendium to compare 30-amp and 50-amp electrical service, water and sewer availability, RV size limits, and recent camper reviews.
Check photos and site details, then confirm the specific hookups with the campground before booking. Save a backup option in case your preferred site isn’t available.